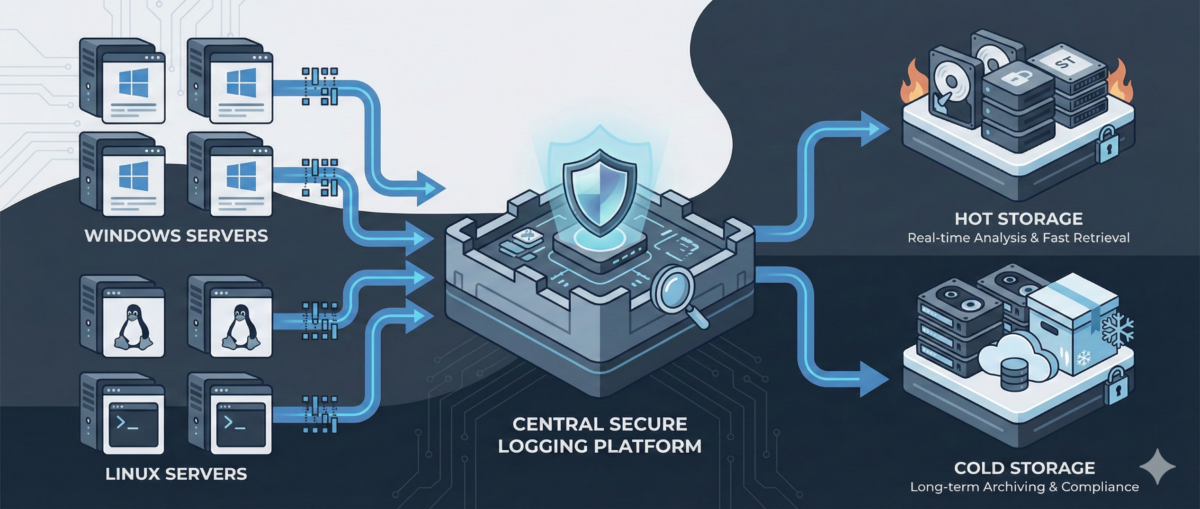
Centralized Logging for Windows and Linux: A Practical Blueprint for IT Ops
When something breaks at 02:13 AM, logs are either your best friend—or completely useless.
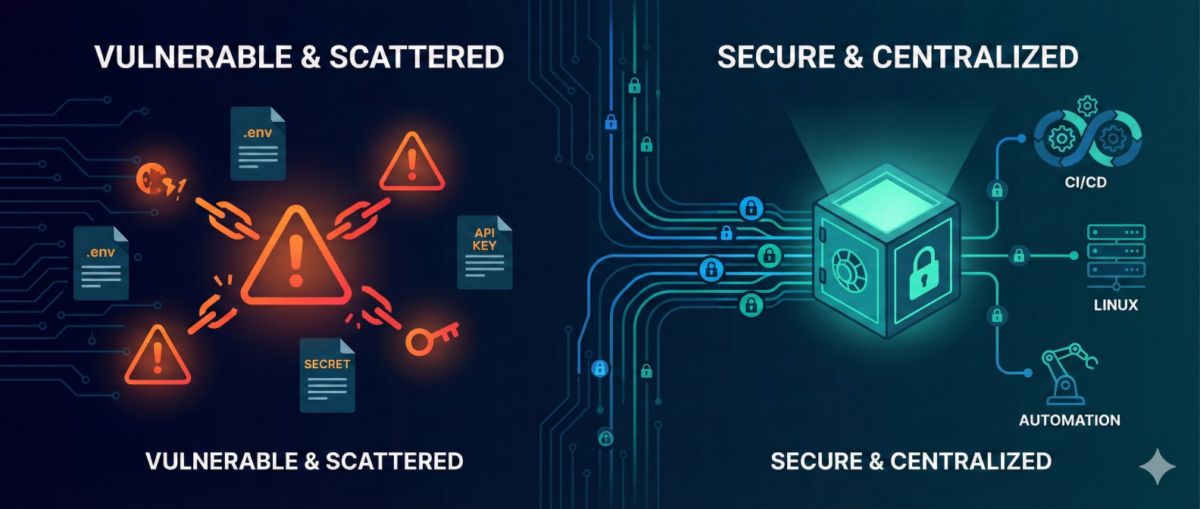
In mixed environments (Windows + Linux + on-prem + cloud), logs are often:
-
scattered across servers,
-
overwritten too quickly,
-
inaccessible during incidents,
-
or never reviewed until after an outage.
A centralized logging strategy transforms logs from passive files into an operational control system.
This guide outlines how to design a scalable, secure, and useful logging architecture for real-world IT environments.
Why Centralized Logging Is Not Optional Anymore
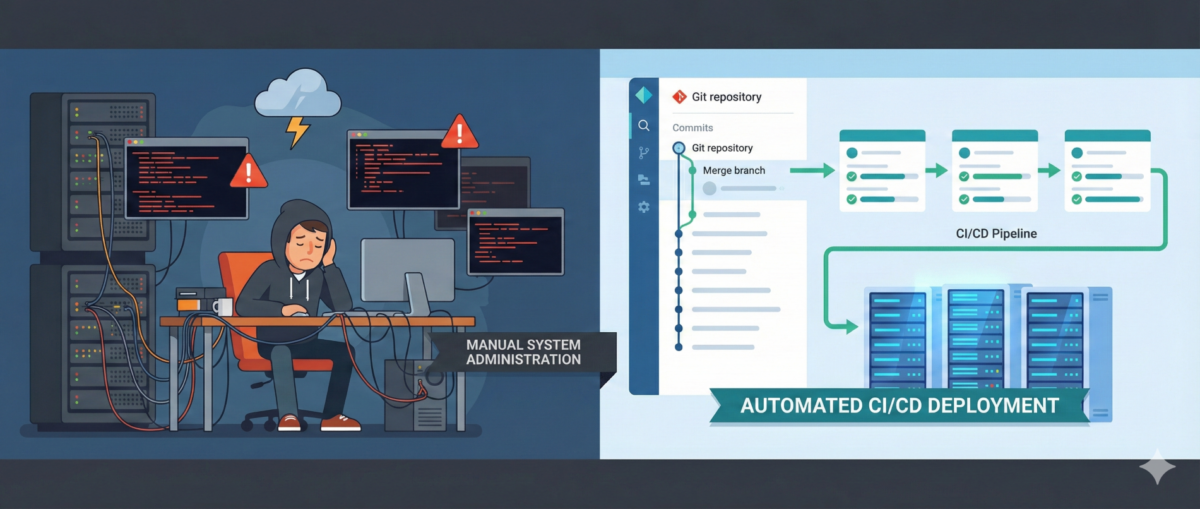
Incident response speed
Without centralized logs:
-
You SSH/RDP into multiple machines.
-
You manually grep or search Event Viewer.
-
You lose precious time correlating events.
With centralized logging:
-
You search once.
-
You correlate across systems instantly.
-
You reduce Mean Time To Resolution (MTTR).
Security visibility
Modern attacks move laterally.
If logs stay local, detection becomes nearly impossible.
Central logs enable:
-
suspicious login pattern detection
-
privilege escalation tracing
-
anomaly identification across hosts
Compliance and audit
Many standards require:
-
log retention policies
-
tamper-resistant storage
-
traceability of admin actions
Step 1: Define What to Log (Not Everything Is Equal)
Logging everything blindly leads to noise.
Windows (Recommended Sources)
-
Security Event Logs (logon events, privilege use)
-
System logs
-
Application logs
-
PowerShell logs (script block logging)
-
Sysmon (for deeper visibility)
Linux (Recommended Sources)
-
auth.log / secure
-
syslog / journald
-
sudo logs
-
SSH logs
-
application-specific logs (nginx, apache, docker, etc.)
Key Principle
Log based on:
-
security relevance
-
operational value
-
troubleshooting frequency
-
compliance needs
Step 2: Choose an Architecture Model
Option A: Agent-Based Collection
Each server runs a lightweight agent:
-
forwards logs securely
-
buffers during outages
-
supports filtering and parsing
Pros:
-
reliable delivery
-
fine-grained control
Cons:
-
agent lifecycle management required
Option B: Agentless / Pull-Based
Central system pulls logs via:
-
Windows Event Forwarding (WEF)
-
Syslog forwarding
-
API-based integrations
Pros:
-
fewer components per host
Cons:
-
less flexible filtering
-
scaling challenges in large environments
In most real infrastructures, agent-based models scale better.
Step 3: Standardize Log Structure
If Windows logs and Linux logs look completely different, correlation becomes painful.
Normalize Fields
Ensure consistent fields such as:
-
hostname
-
environment (dev/stage/prod)
-
IP address
-
user
-
severity
-
timestamp (UTC strongly recommended)
Add Context
Tag logs with:
-
service name
-
business criticality
-
region
-
patch group or cluster
Context is what turns logs into intelligence.
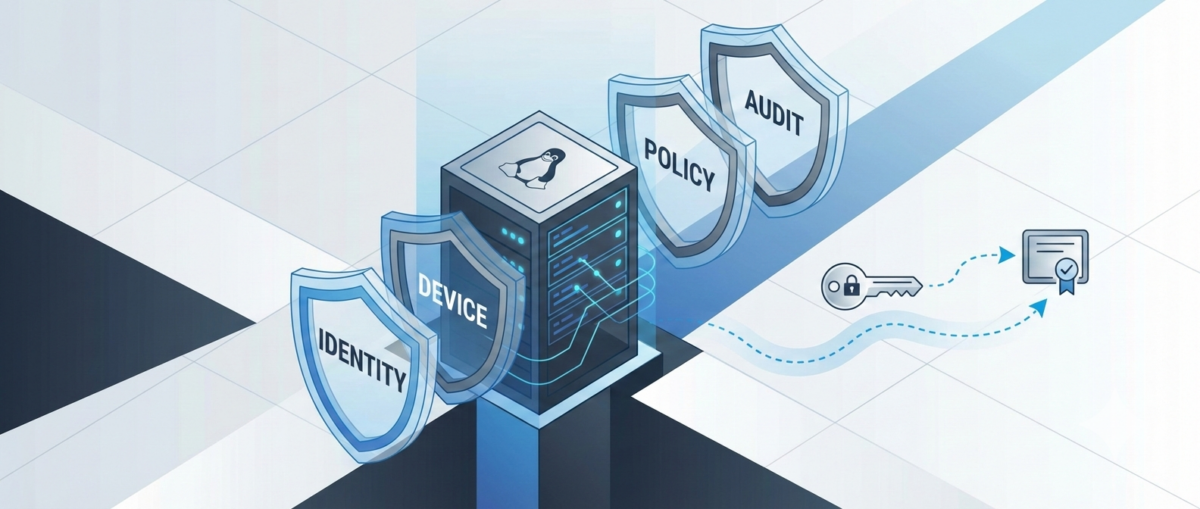
Step 4: Secure the Logging Pipeline
Logs contain sensitive data:
-
usernames
-
internal IPs
-
command history
-
sometimes secrets (misconfigured apps)
Security Requirements
-
TLS encryption in transit
-
role-based access control
-
separation of admin vs read-only roles
-
immutable or append-only storage
-
log retention policies
Protect Against Log Tampering
Attackers often:
-
delete logs
-
modify local log files
-
disable logging services
Centralized and restricted storage prevents this.
Step 5: Retention and Storage Strategy
Define retention by tier.
Example:
-
Security logs: 180–365 days
-
Operational logs: 30–90 days
-
Debug logs: short-term (7–14 days)
Consider:
-
storage cost vs compliance
-
hot vs cold storage
-
searchable vs archived logs
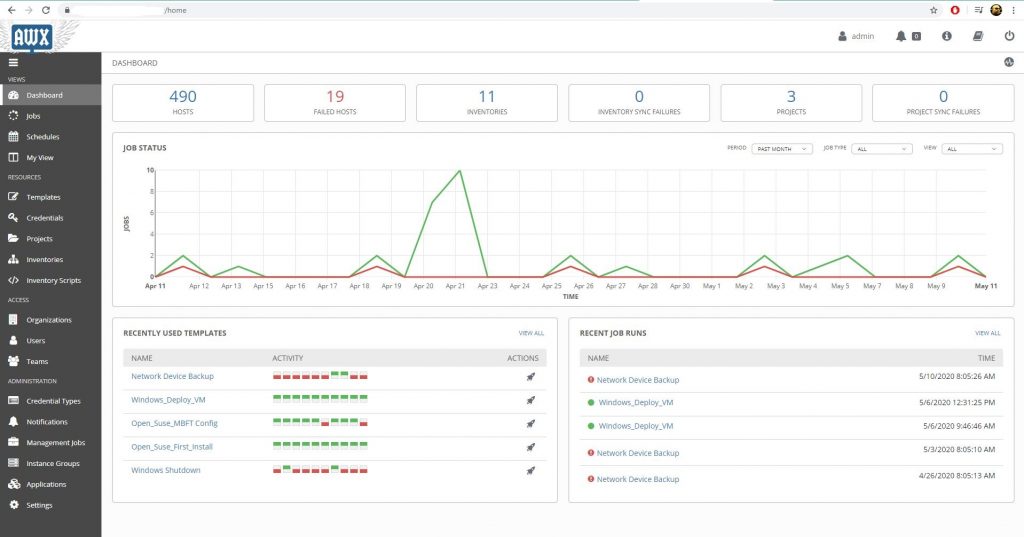
Step 6: Build Operational Use Cases
Logging is useless without queries and alerts.
Operational Use Cases
-
Service crash detection
-
Repeated restart loops
-
Disk error patterns
-
Failed scheduled tasks
Security Use Cases
-
Multiple failed login attempts
-
Admin group membership changes
-
New service installation
-
Suspicious PowerShell execution
Create dashboards per:
-
infrastructure tier
-
business service
-
security monitoring
Step 7: Avoid Common Logging Mistakes
Logging without monitoring
Collecting logs without alerts or dashboards = expensive storage.
Over-collecting
Too much noise hides real signals.
No ownership
Define:
-
who reviews alerts
-
who maintains parsers
-
who manages retention policies
Logging must be part of operations—not an afterthought.
Conclusion
Centralized logging is not a “SIEM project.”
It is core infrastructure hygiene.
Done correctly, it provides:
-
faster incident response
-
stronger security posture
-
audit readiness
-
operational clarity
Logs are not just records.
They are your infrastructure memory.