Why centralized logging is essential
In modern infrastructure, logs are everywhere:
- Linux system logs
- application logs
- container logs
- security and audit logs
When logs stay on individual servers, operations become difficult:
- troubleshooting takes longer
- incidents lack visibility
- correlation between systems is nearly impossible
- logs may be lost during outages
Centralized logging solves this by aggregating logs into a single, searchable system.
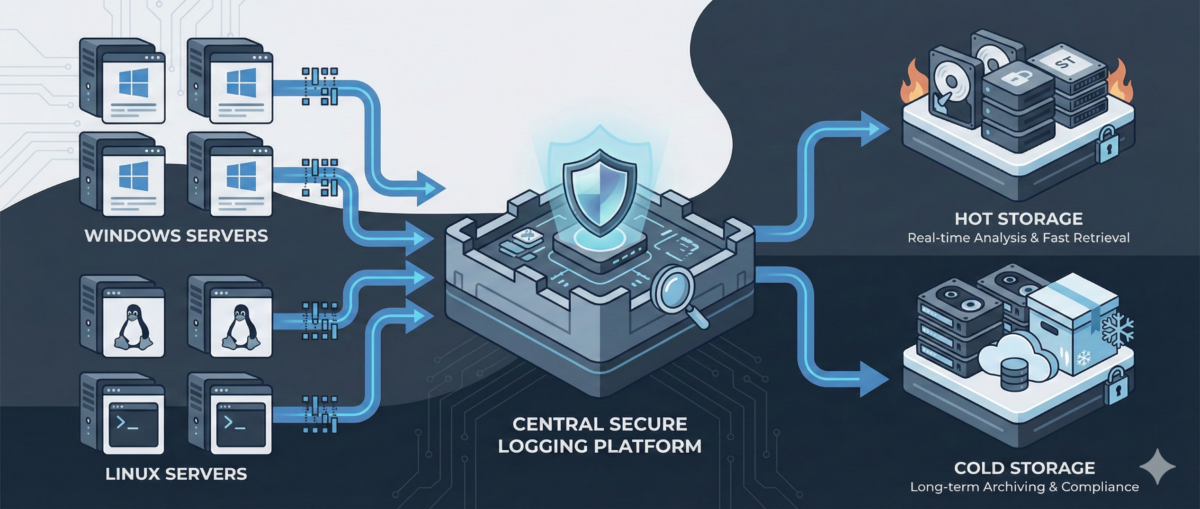
What is centralized logging
Centralized logging is the practice of collecting logs from multiple systems and storing them in a unified platform where they can be:
- searched
- analyzed
- visualized
- alerted on
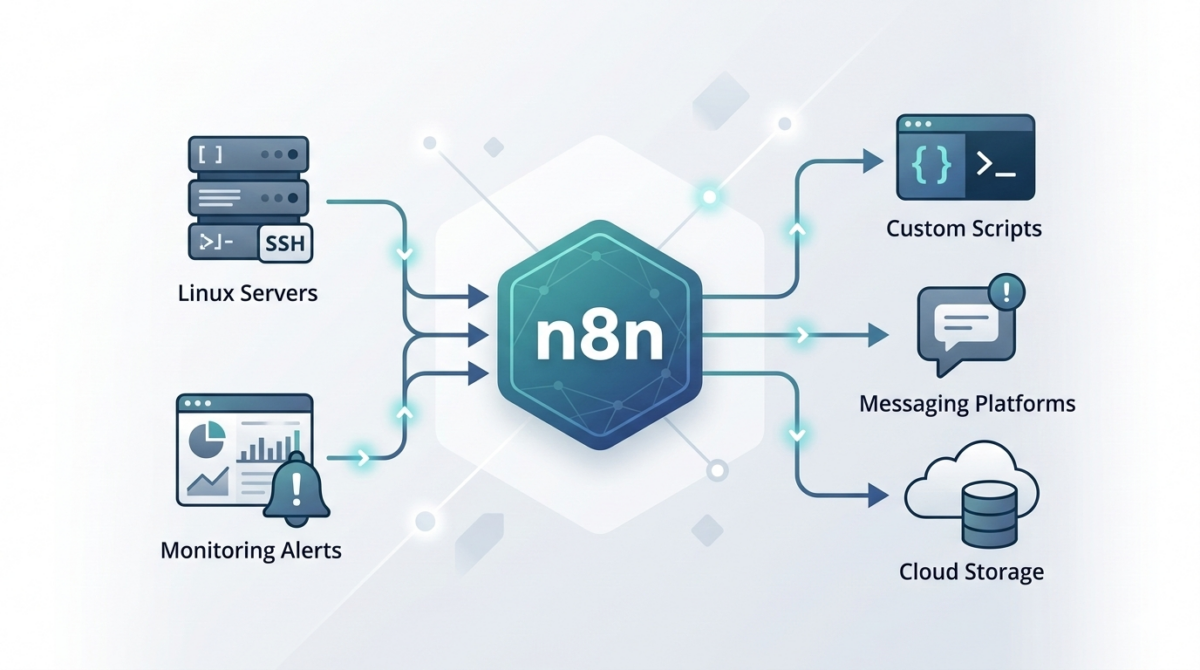
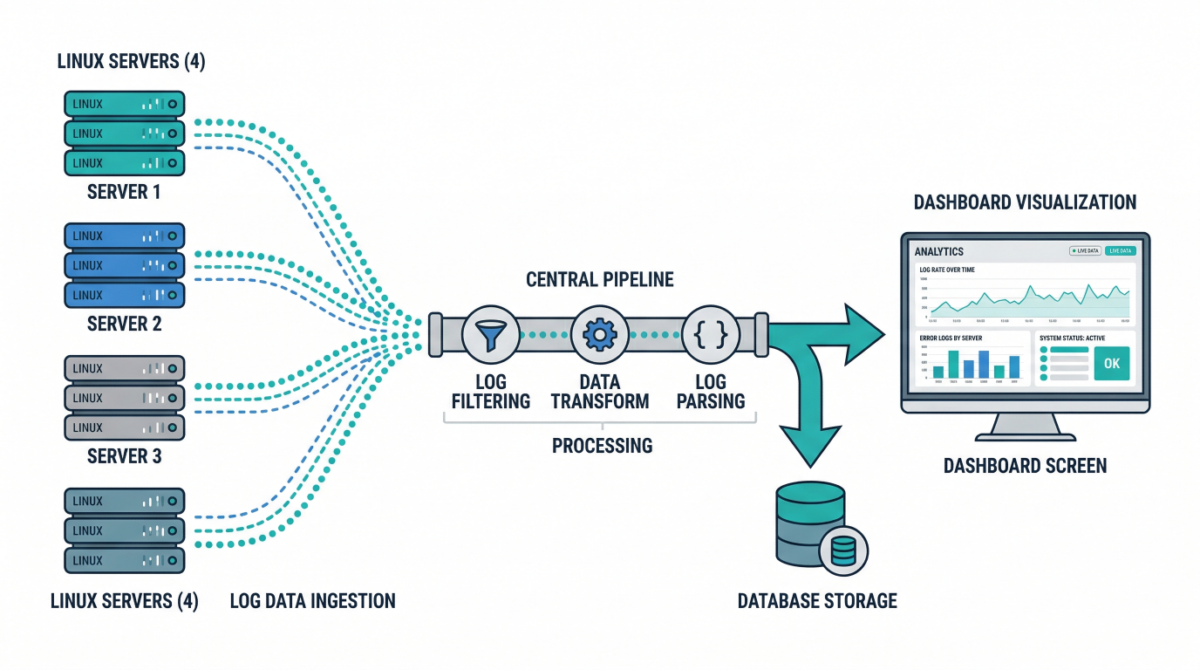
Typical flow:
Server → Log shipper → Processing pipeline → Storage → Visualization
Key components of a log pipeline
Log sources
These include:
/var/log/syslog,/var/log/auth.log- application logs
- container stdout/stderr
- cloud service logs
Log shippers
Agents installed on servers to forward logs:
- lightweight collectors
- handle buffering and retries
- ensure reliable delivery
Processing layer
Logs are parsed, enriched, and transformed:
- add metadata (hostname, environment)
- normalize formats
- filter noise
Storage backend
Central system where logs are stored and indexed for querying.
Visualization and alerting
Dashboards and alerts help teams:
- monitor systems
- detect anomalies
- investigate incidents
Common architecture patterns
Basic logging setup
- Each server runs a log shipper
- Logs sent to a central server
- Stored and queried centrally
Good for small to medium environments.
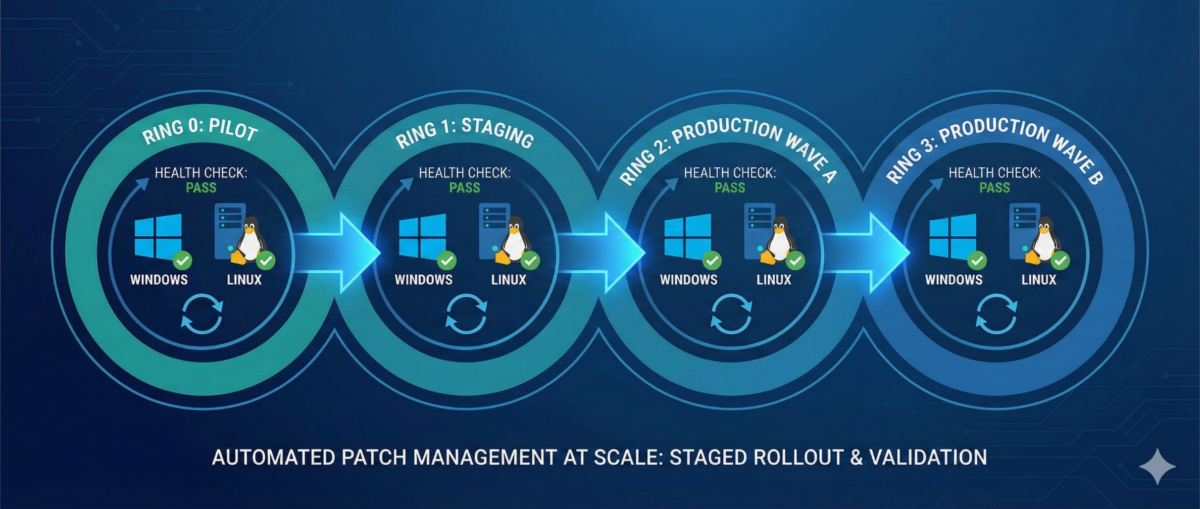
Scalable pipeline architecture
- Load-balanced ingestion layer
- Distributed processing nodes
- Scalable storage cluster
Designed for high-volume environments.
Cloud-native logging
- Containers emit logs to stdout
- Logging agents collect from nodes
- Logs shipped to centralized services
Ideal for Kubernetes environments.
Designing a reliable logging pipeline
Ensure durability
Logs should not be lost during:
- network interruptions
- server failures
Use buffering and retry mechanisms.
Structure your logs
Structured logs (JSON) enable:
- better search
- easier parsing
- improved analytics
Enrich logs with metadata
Add fields like:
- environment (prod/staging)
- service name
- region
- instance ID
This makes filtering and correlation easier.
Implement retention policies
Not all logs need to be stored forever.
Define:
- short-term hot storage
- long-term archival
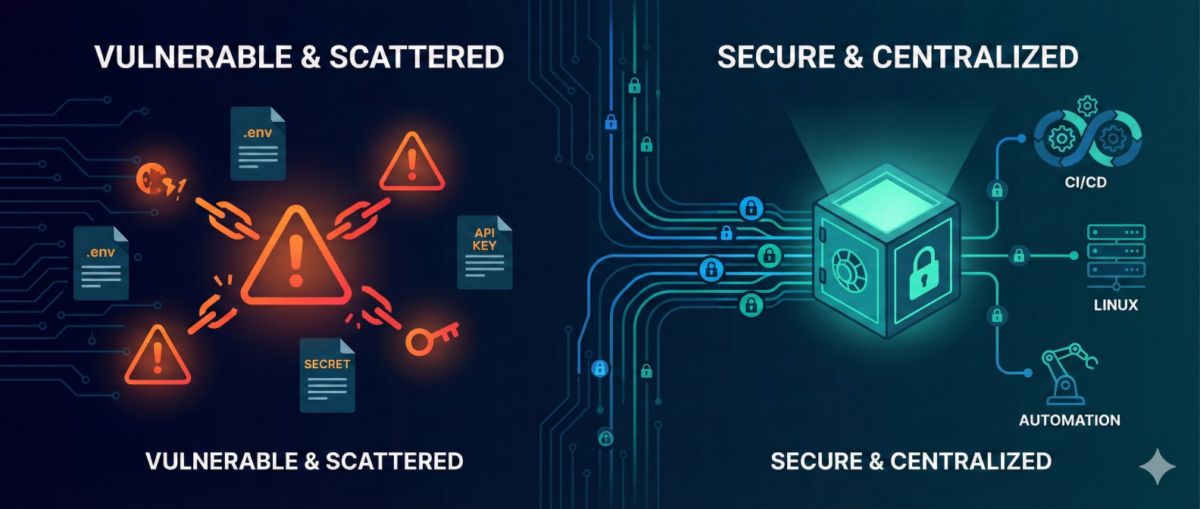
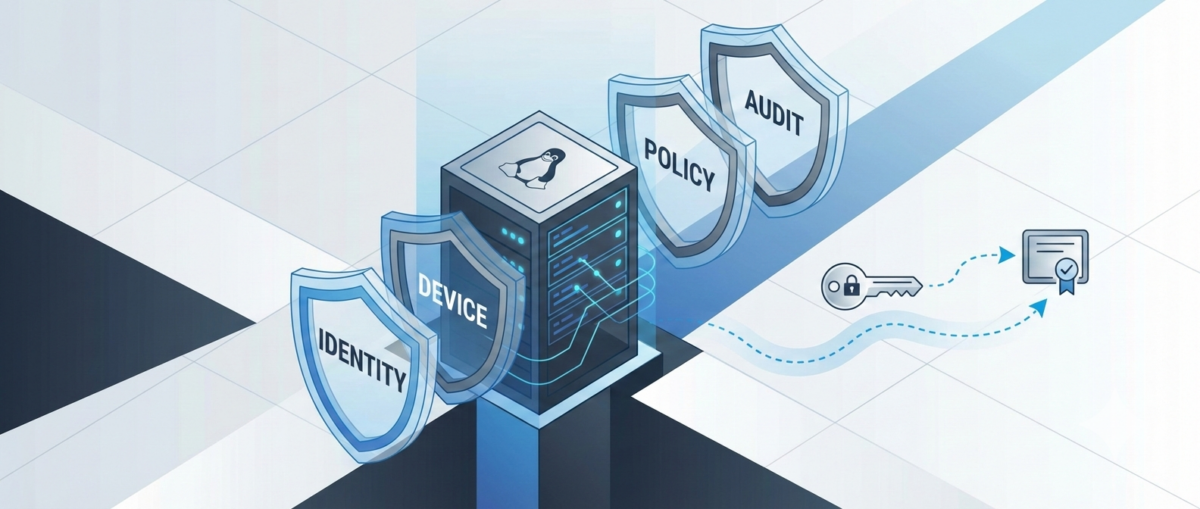
Security considerations
Protect sensitive data
Avoid logging:
- passwords
- tokens
- personal data
Mask or filter sensitive fields.
Control access
Restrict who can view logs, especially:
- authentication logs
- audit logs
Enable audit logging
Track access to logging systems themselves.
Practical use cases
Incident response
Quickly correlate logs across systems to identify root causes.
Security monitoring
Detect suspicious behavior:
- failed login attempts
- privilege escalation
- unusual access patterns
Performance troubleshooting
Analyze latency, errors, and system behavior over time.
Compliance and auditing
Maintain logs for regulatory requirements.
Example: Minimal logging pipeline
- Install log shipper on each server
- Forward logs to central collector
- Parse and enrich logs
- Store in searchable backend
- Build dashboards and alerts
Even a simple setup significantly improves visibility.
Common mistakes to avoid
Storing logs locally only
Logs disappear if the server is lost.
Ignoring log structure
Unstructured logs are difficult to analyze at scale.
No retention strategy
Leads to high storage costs or missing historical data.
Over-logging
Too much noise reduces signal quality and increases cost.
Conclusion
Centralized logging is a foundational capability for:
- observability
- security
- incident response
- operational excellence
By building a scalable log pipeline, infrastructure teams gain the visibility needed to operate complex systems with confidence.